

Get Started NextjsTutorial — 6. Connecting Content Island with Nextjs
6. Connecting Content Island with Nextjs
We’re now ready to start pulling content from Content Island into our site.
Let’s set up Content Island. What do we need?
- Install the Content Island API client library.
- Add an environment variable with our project’s API Key.
To install the Content Island API client library:
npm install @content-island/api-client --saveWe also need to add the API Key of our Content Island project as an environment variable. Why? Because not everyone should have access to our Content Island data—only our project, using the API Key, should be able to use it.
To get the API Key, go to the Content Island portal, select your current project, and under the "General" tab, you can copy the API Key (the Token field).
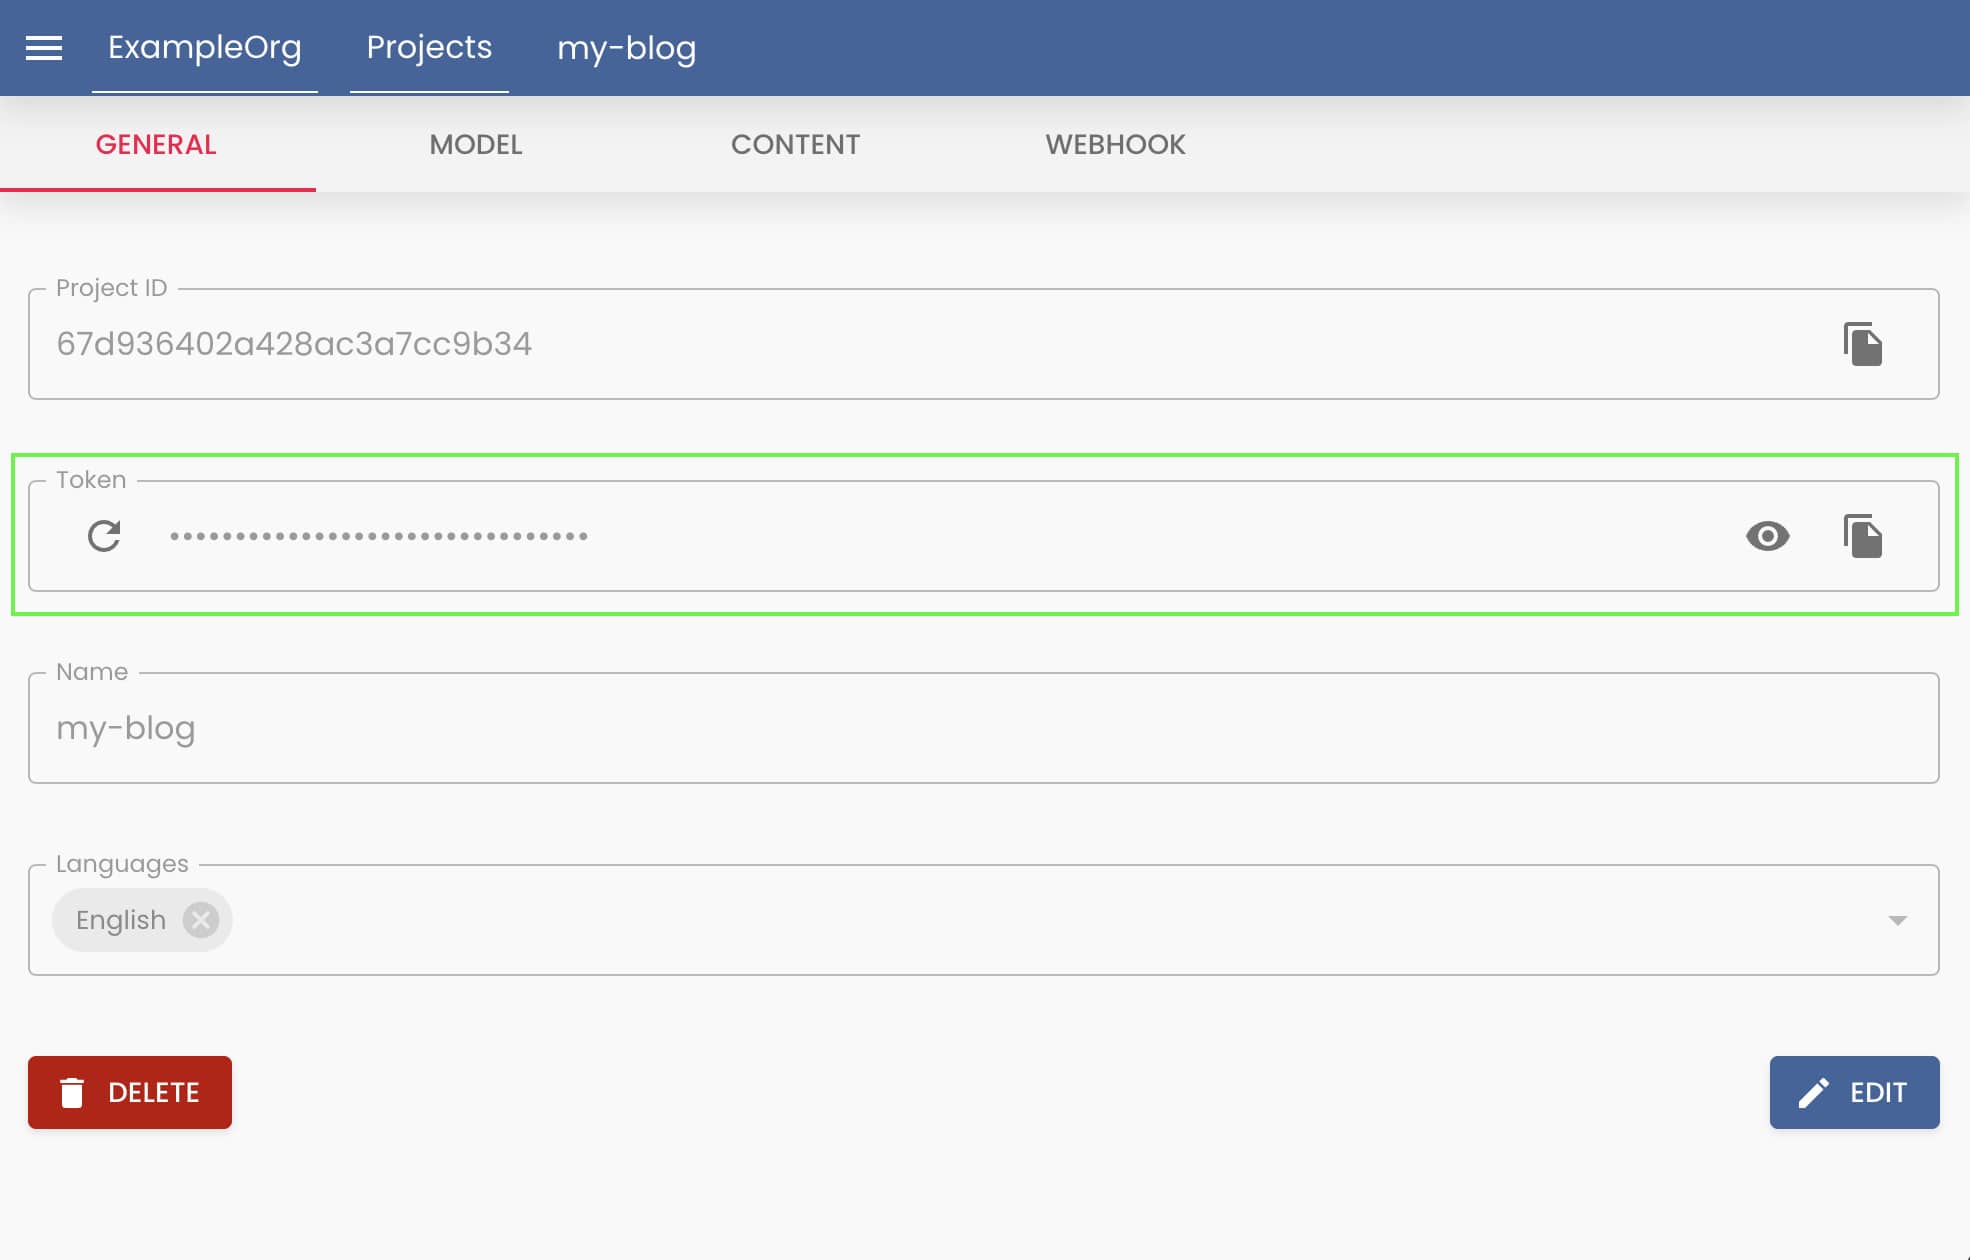
Now, create a file named ".env.local" at the root of your project and add the environment variable:
CONTENT_ISLAND_SECRET_TOKEN=API_KEYYou can use the example token value (
CONTENT_ISLAND_SECRET_TOKEN=92925813362dd0bdc4816da745a90121) if you don’t have your own yet.Next.js allows you to create environment variable files for different environments. In this case, since we’re in development, we use the ".local" suffix.
For production, it’s recommended to define environment variables in the deployment platform or in your CI/CD pipelines.
Now, let’s initialize the Content Island client library in our project and inject the API Key.
./src/lib/client.ts
import { createClient } from "@content-island/api-client";

export const client = createClient({
  accessToken: process.env.CONTENT_ISLAND_SECRET_TOKEN ?? "",
});
And now we’re all set to start working with the data. :)