

Get Started Astro Tutorial
- 1. Creating the project in Content Island
- 2. Defining the data model
- 3. Adding data
- 4. Creating the Astro project
- 5. Creating the folder structure
- 6. Connecting Content Island with Astro
- 7. Building the About page
- 8. Page with list of posts
- 9. Displaying a post
- 10. Automatic Deployment with Astro and Content Island using GitHub Actions
- 11. Deploying to Netlify
- 12. Auto-deploy with GitHub Webhooks + Content Island
1. Creating the project in Content Island
Headless CMS
Setting up a blog is the perfect example to understand how Astro and Content Island work. It's a simple project, but with enough complexity to play with routes, dynamic content, and a bit of interactivity.
Besides, having your own blog is never a bad idea—especially if you want something lightweight, ad-free (unless you choose otherwise), and fully customizable.
We're going to implement a simple seed:
📜 A page with a list of posts.
✍️ A page to view each post in detail.
👤 An about page, because it's always good to introduce yourself.
The final result would look like this:
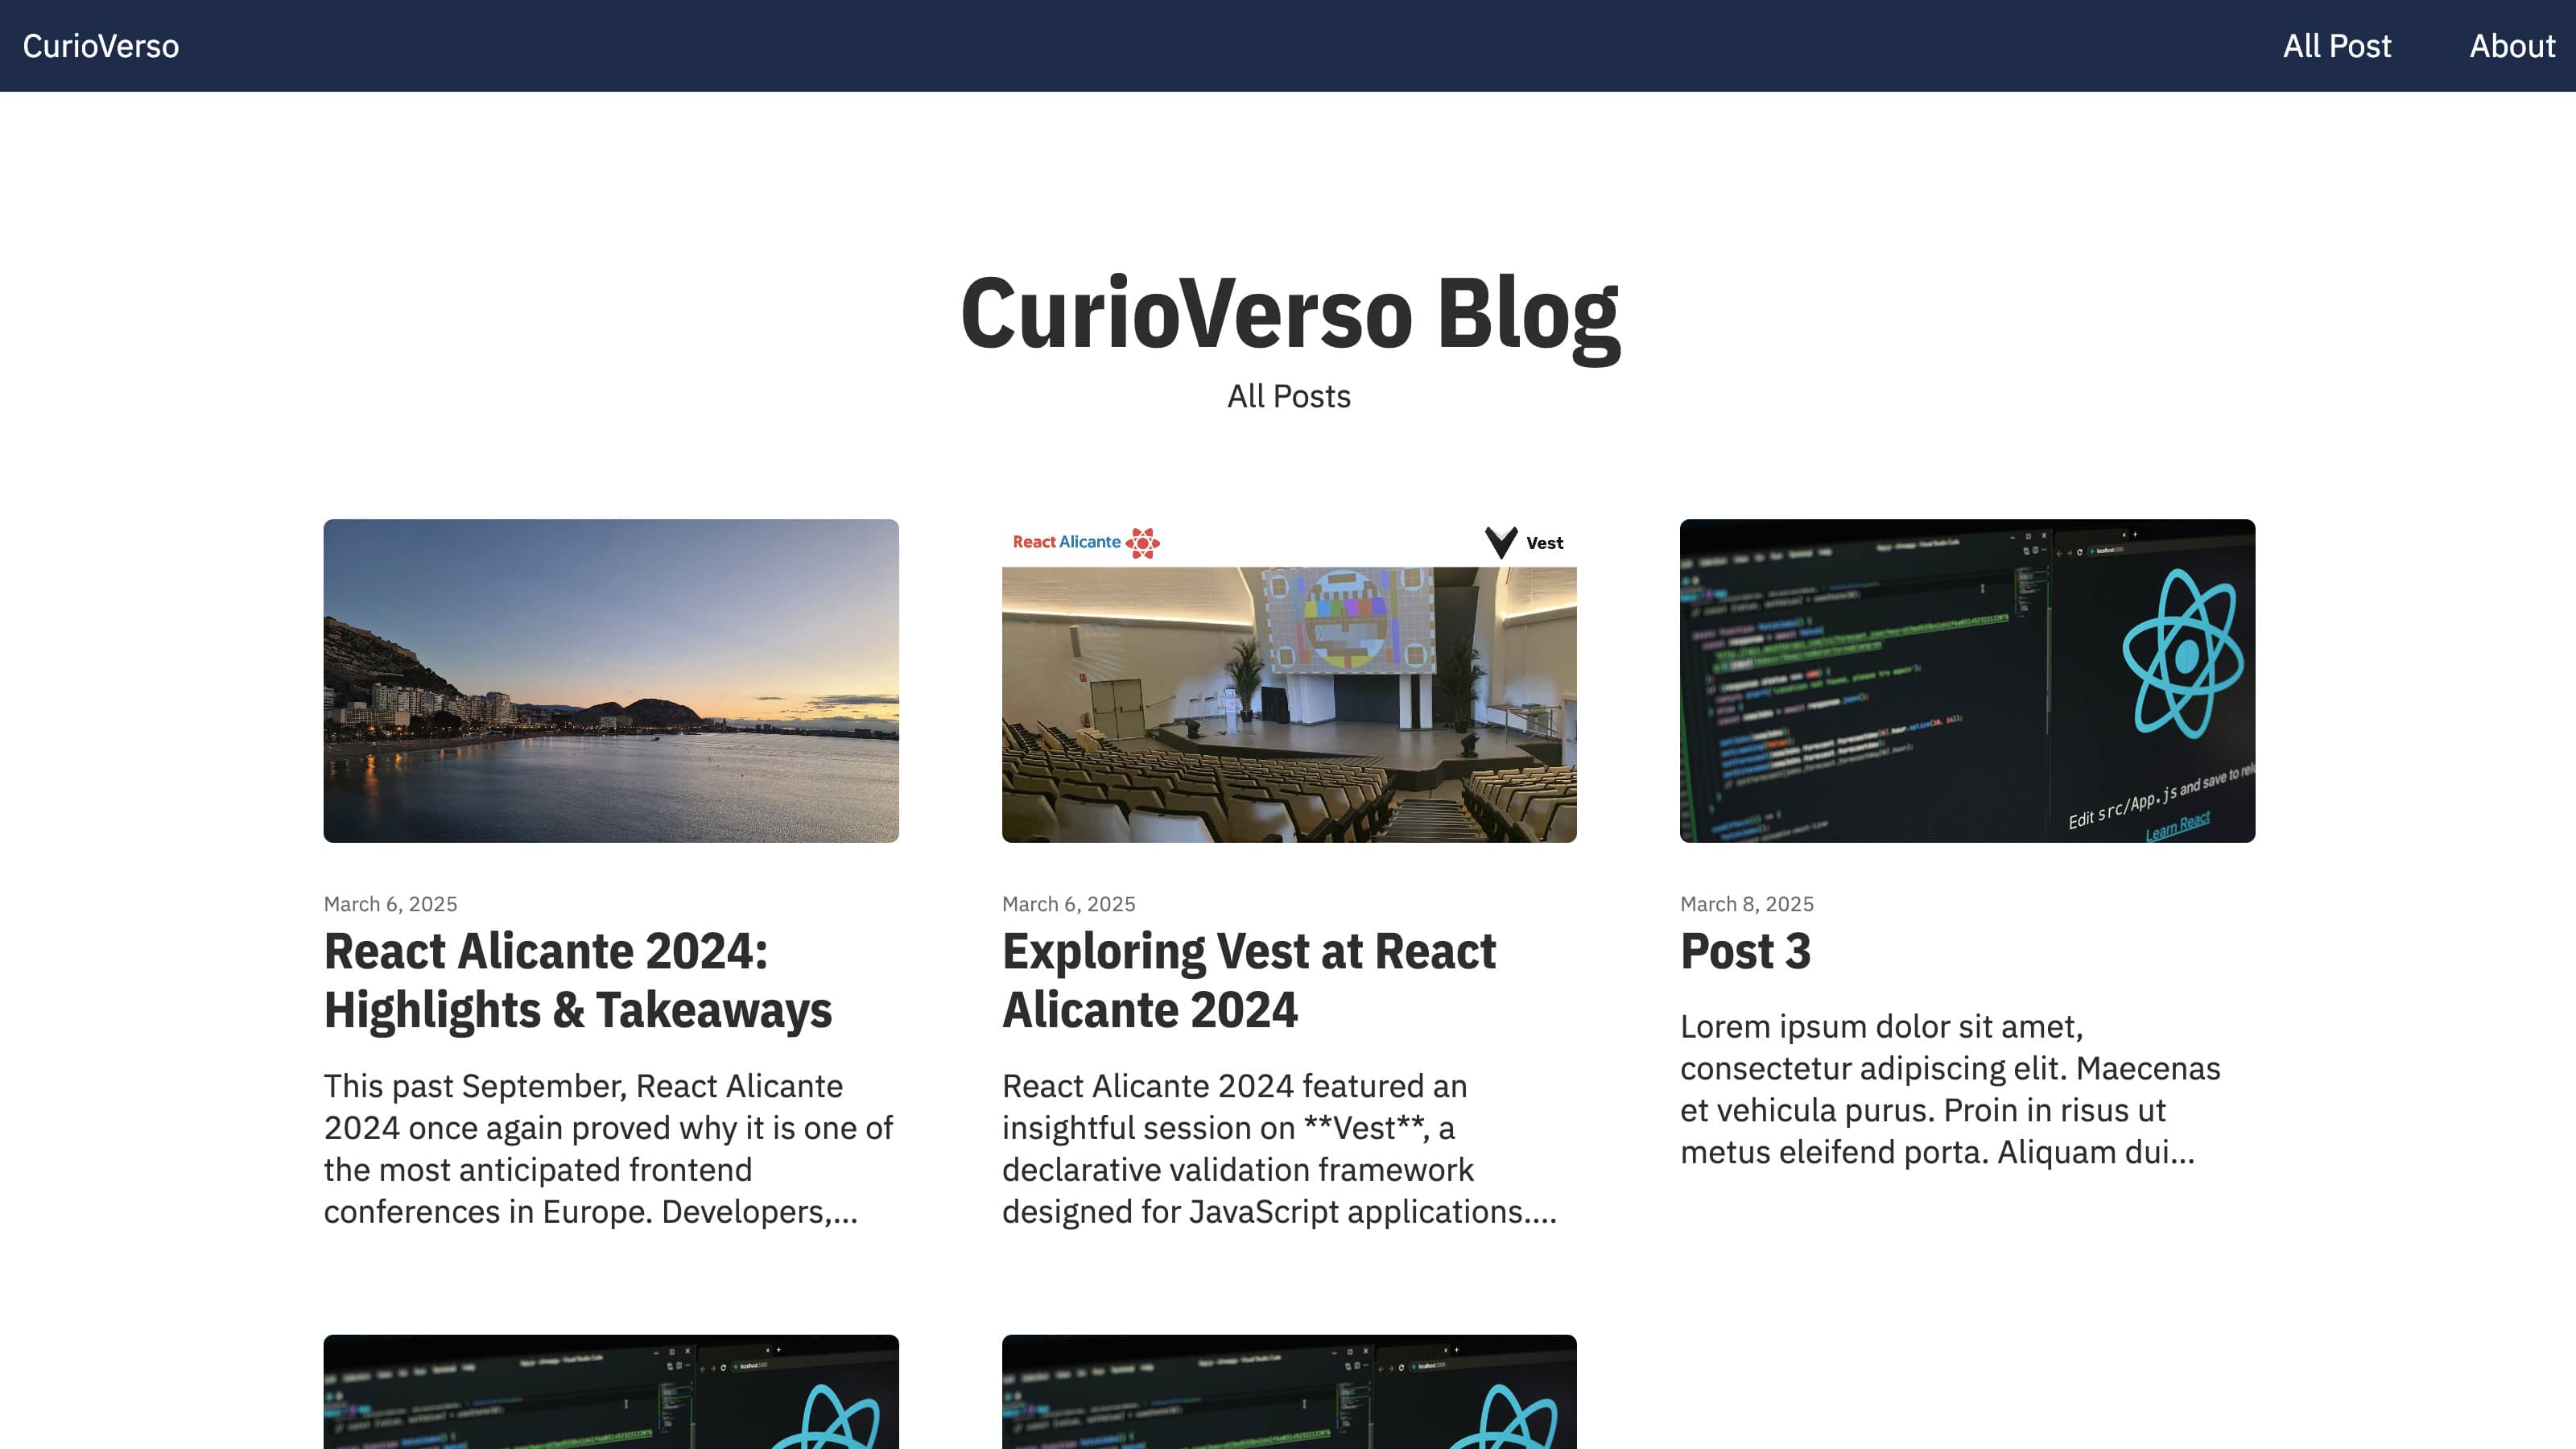
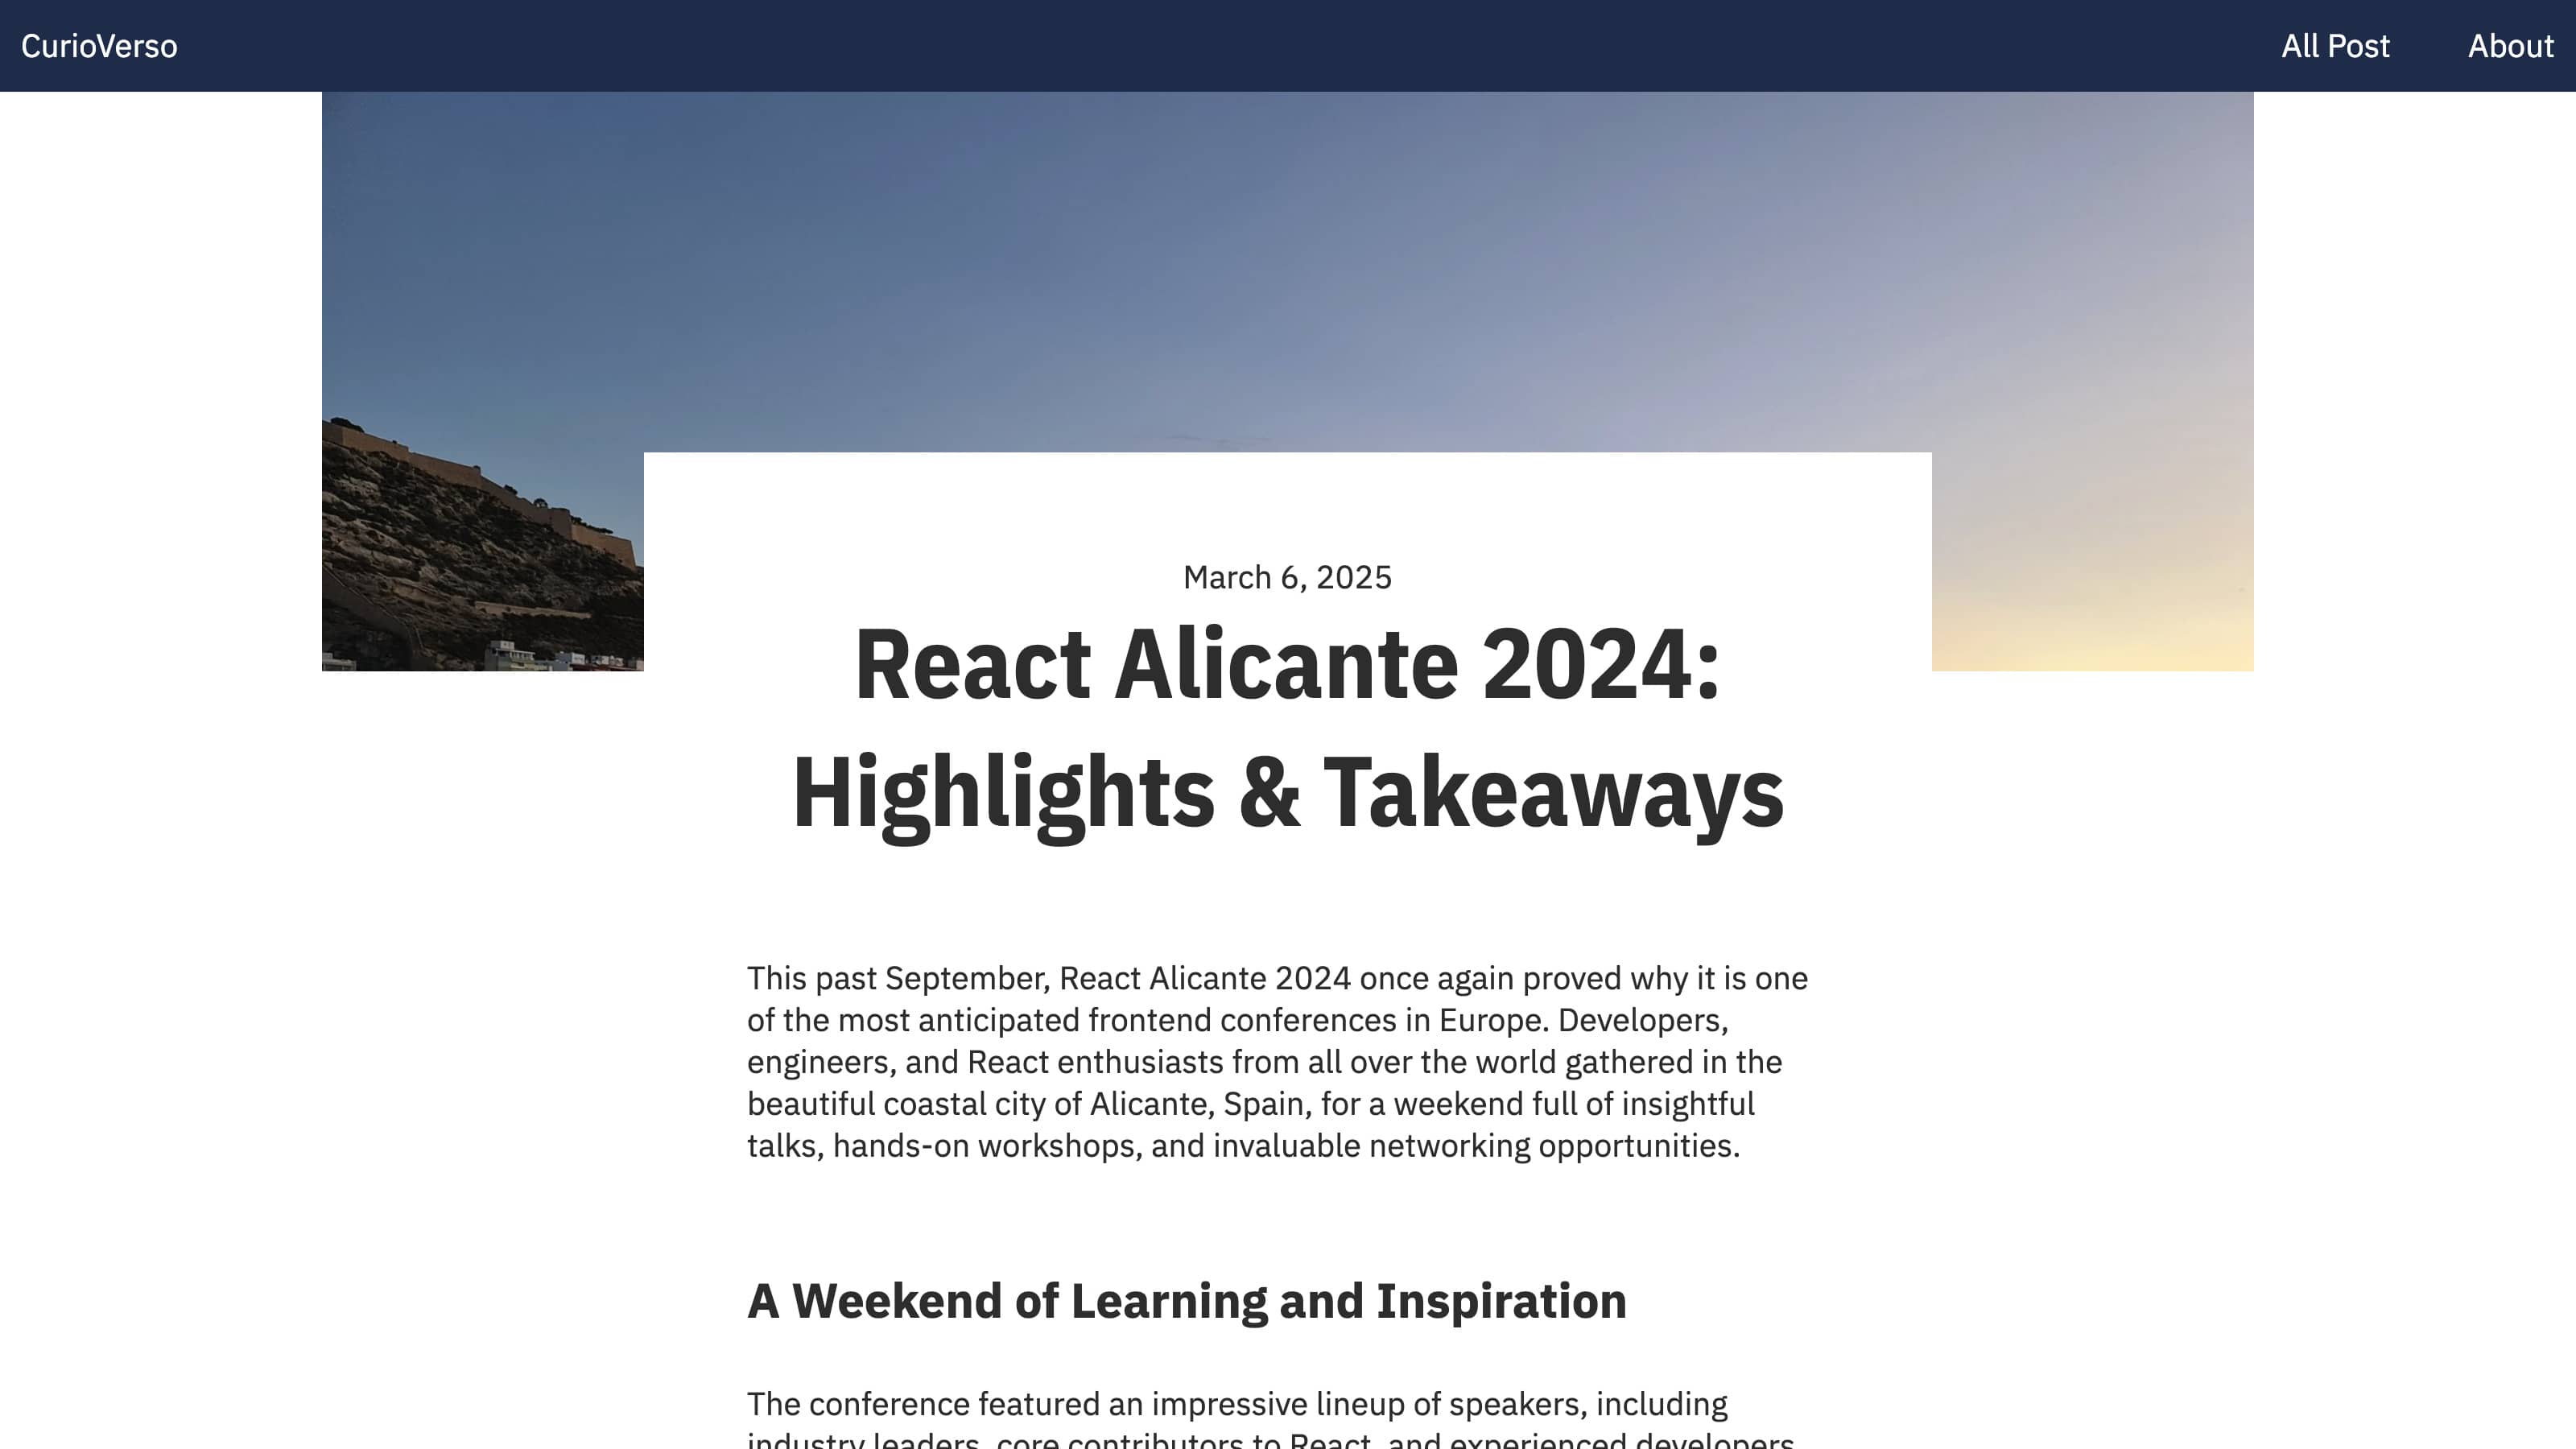
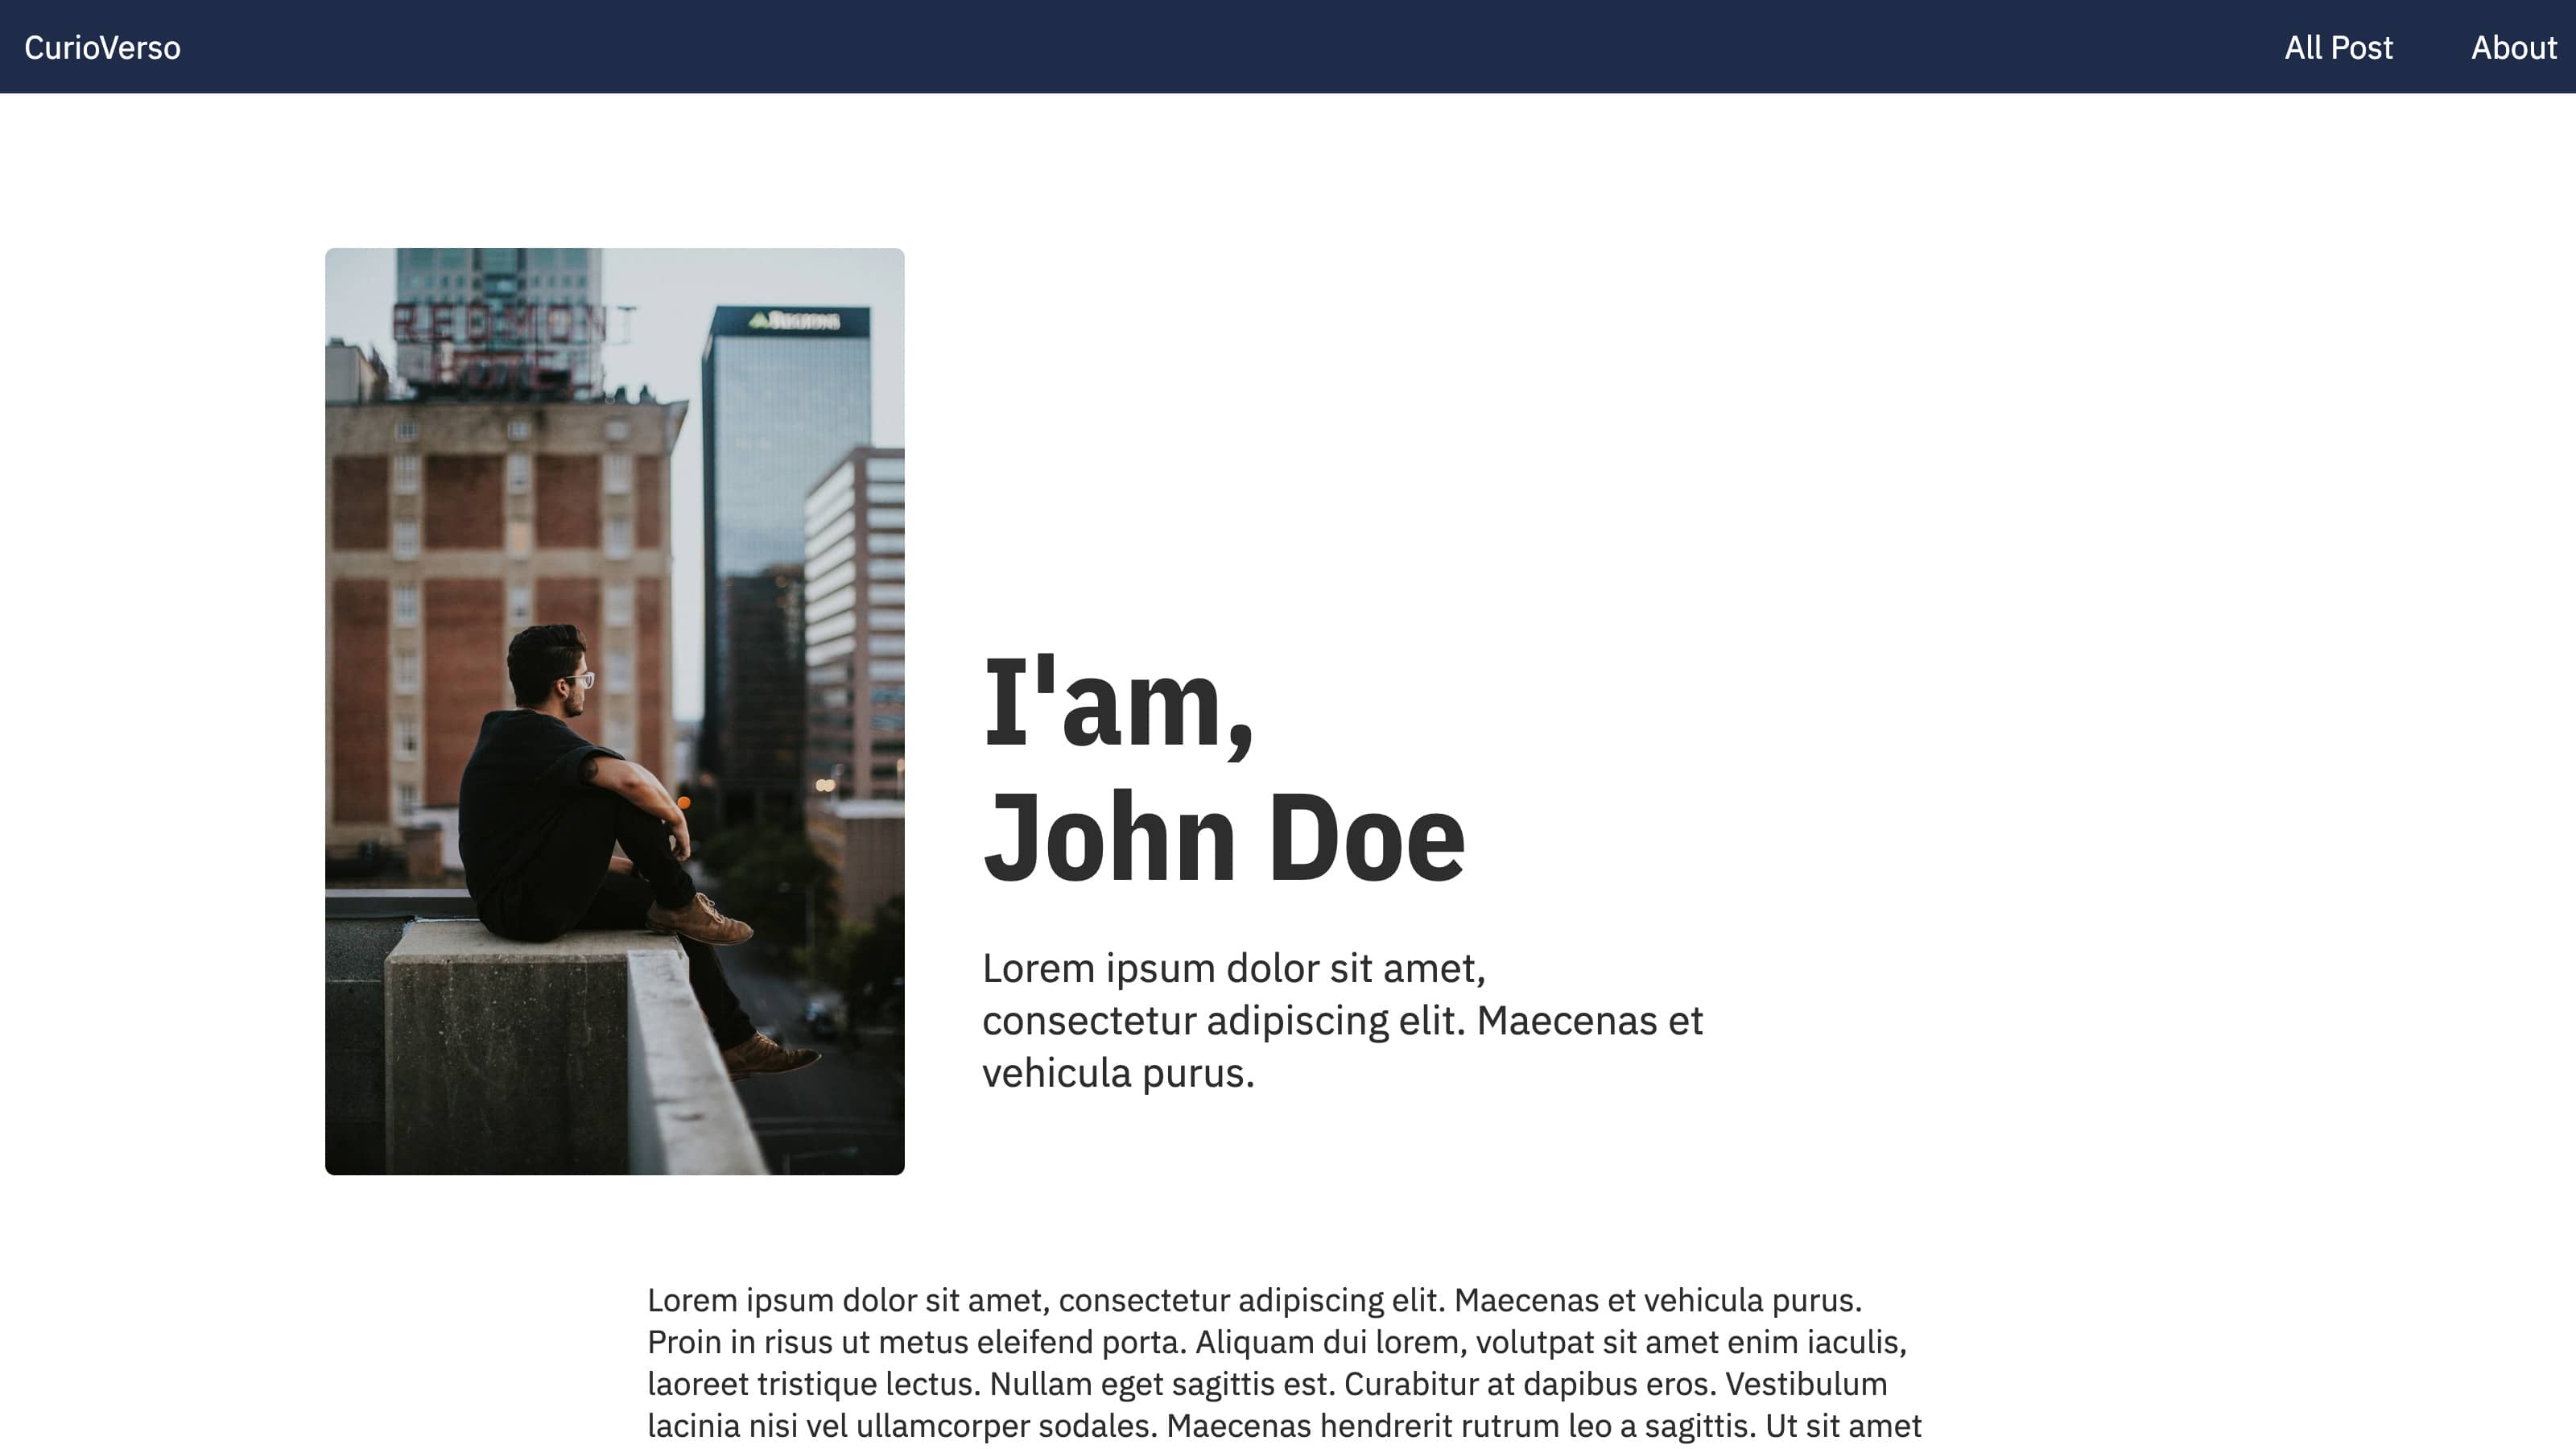
You can try it live/online here: Open in StackBlitz.
You can also clone the repo with the full demo here: Clone full demo repository
One option to develop this would be using plain HTML/CSS, but of course, we want this to be dynamic. I don’t want to be messing with HTML every time I want to change my bio, fix a typo, or add a new post. In fact, I’d like even someone who doesn’t know how to code to be able to add new posts or edit relevant data. But still, I want the best of both worlds: on one hand, the speed and simplicity of having static HTML and CSS, and on the other, the ability to update the data easily.
What can I do? Define a model for my application in Content Island, input the data, and using a technology like Astro, generate a static site and update it every time there's a change in the information in my Content Island project.
Creating the Project in Content Island
Let's start creating the project from scratch.
Once we've created our account in Content Island and logged in, depending on your role:
You’ll either see a window where you can choose between the projects you have access to or edit users—in this case, we choose to go to the project list.
Or you'll see the project list directly (if it's your first time logging in, it will be empty).
Click on Add Project.
A "General" tab will be displayed where we need to name our project. Type: "my-blog" and click the save button.
Now it asks us to generate an API token (this is what we'll use to consume the data from our project via Astro), so we click on "Generate token".
It also asks us to choose the languages our project will support—this time we select English (Content Island supports multiple languages).
Now three tabs become available:
The Model tab, where we will define the entities of our project.
The Content tab, where we will input the data for our project.
The Webhooks tab, where we can define actions to be triggered when an event occurs in our project.
In the next step, we will define the entities for our blog project.