

Get Started NextjsTutorial — 10. Deploying to Vercel
10. Deploying to Vercel
Vercel is a hosting and automation platform that allows developers to deploy static web applications quickly and easily.
Additionally, Vercel offers a free plan that includes:
- Hosting for static websites.
- SSL certificates.
- Continuous integration.
- Etc.
In this example, we’ll see how to deploy the "Get Started Next.js" project from Content Island to Vercel.
Step 1: Create a Repository
The first thing we need to deploy this project is a GitHub repository:
- Go to GitHub and create a new repository.
- Name it
get-started-deploy-vercel. - You can make it public or private—your choice. Later, we’ll give Vercel permission to access the repo.
- Click create without adding any files.
Copy the URL of the new repository and clone it to your local machine in an empty folder using this command:
git clone <URL of the repository> .We add a dot at the end so Git doesn’t create an extra folder with the repo name.
Now that the Next.js project is cloned, simply copy all the content into this new repo and push it using the following commands:
git add .
git commit -m "Initial commit"
git push
Check to make sure the project is now uploaded to your GitHub repository.
Step 2: Configure Deployment
To deploy on Vercel, you’ll need an account on the platform.
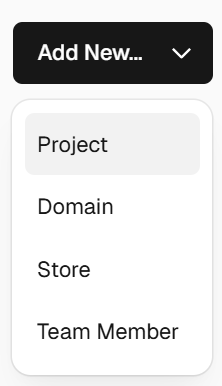
Once logged in, on the main page, click Add new and select Project.
If this is your first time, you’ll need to give Vercel permission to access your GitHub account (or choose another Git provider).
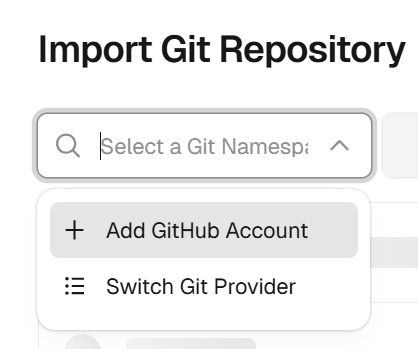
You can allow access to all repos or only specific ones. In this case, select the one you just created.
Once configured, you can now select the repo you want to deploy and a configuration screen will appear.
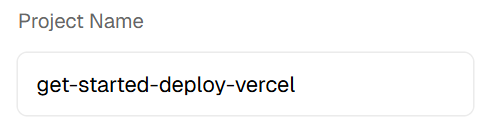
Vercel will automatically use the same name as your repo for the app. You can rename it if you like:
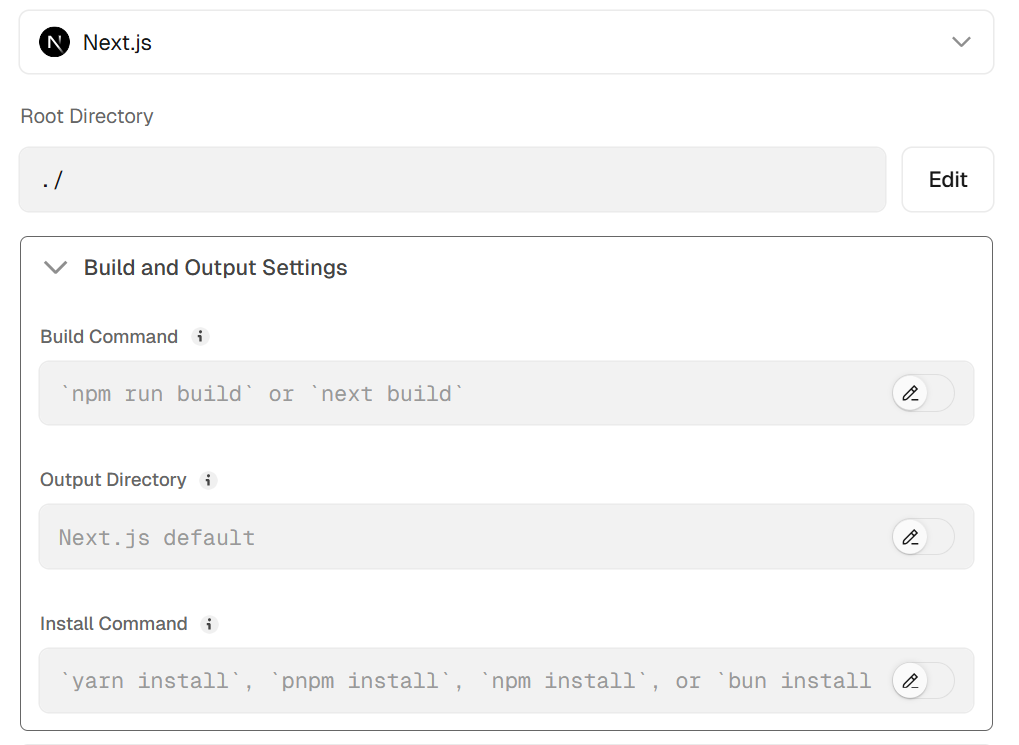
By default, it will detect the framework being used. You can change the build settings if needed, but for this example, the defaults work fine.
We need to add a new environment variable—remember that when the project builds, it connects to our Content Island project to fetch the data for each Post.
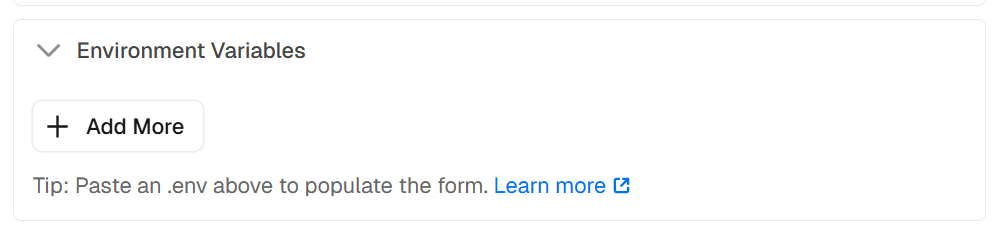
So we need to configure the CONTENT_ISLAND_SECRET_TOKEN environment variable with the value provided by Content Island in the General tab.
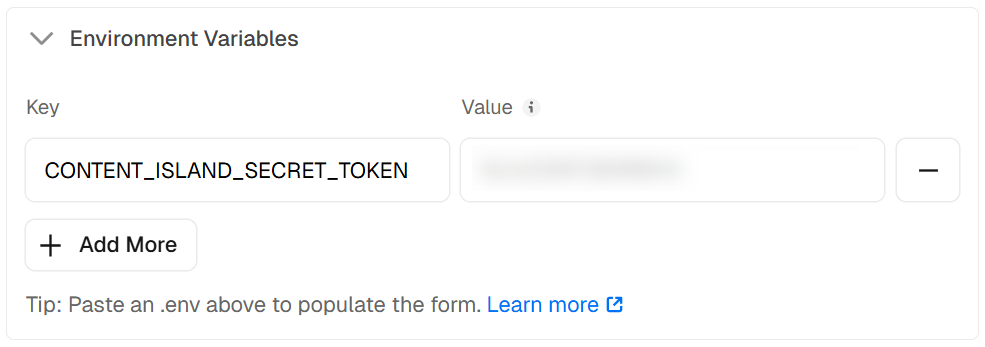
Then click Deploy.
And that’s it! Your project using Content Island and Next.js is now deployed on Vercel.
Step 3: Configure webhook in Content Island
Now, to ensure that every time we make a change to our Content Island content, the project is redeployed on Vercel, we need to configure a webhook in our project.
Once logged into our account and after selecting our project, go to the Webhook tab.
Click Add new Webhook and select Vercel from the dropdown.

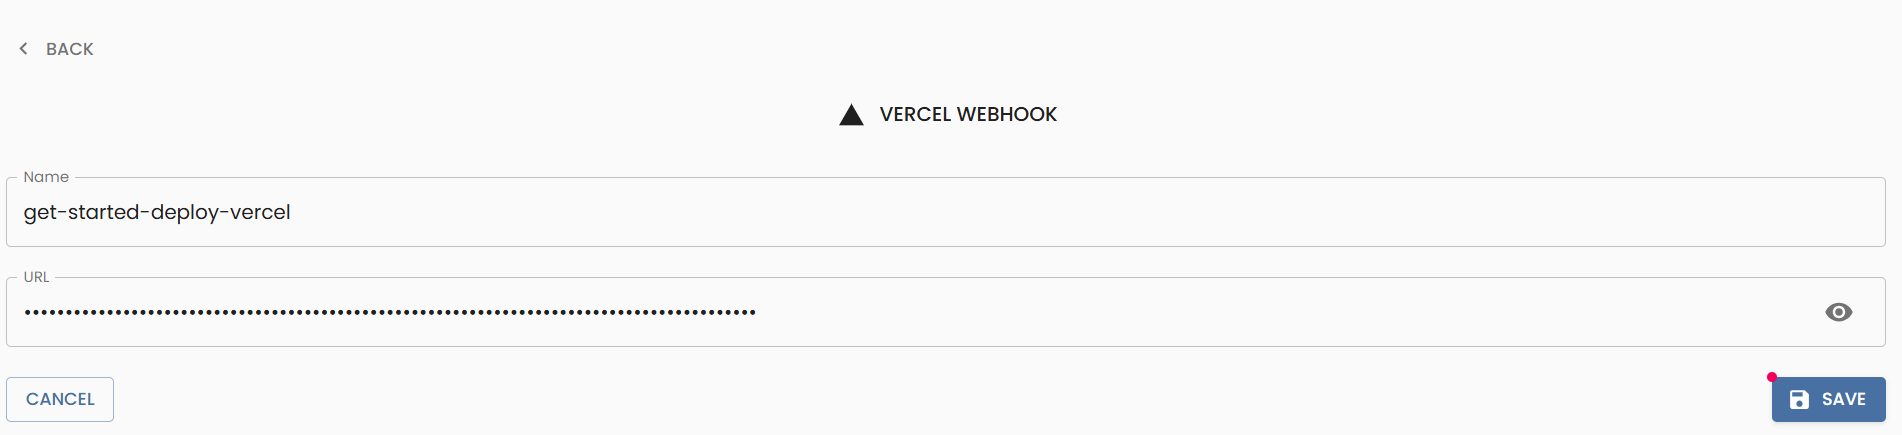
First, it will ask for a name for the webhook (for example, we can use the name we gave to the project in Vercel get-started-deploy-vercel).
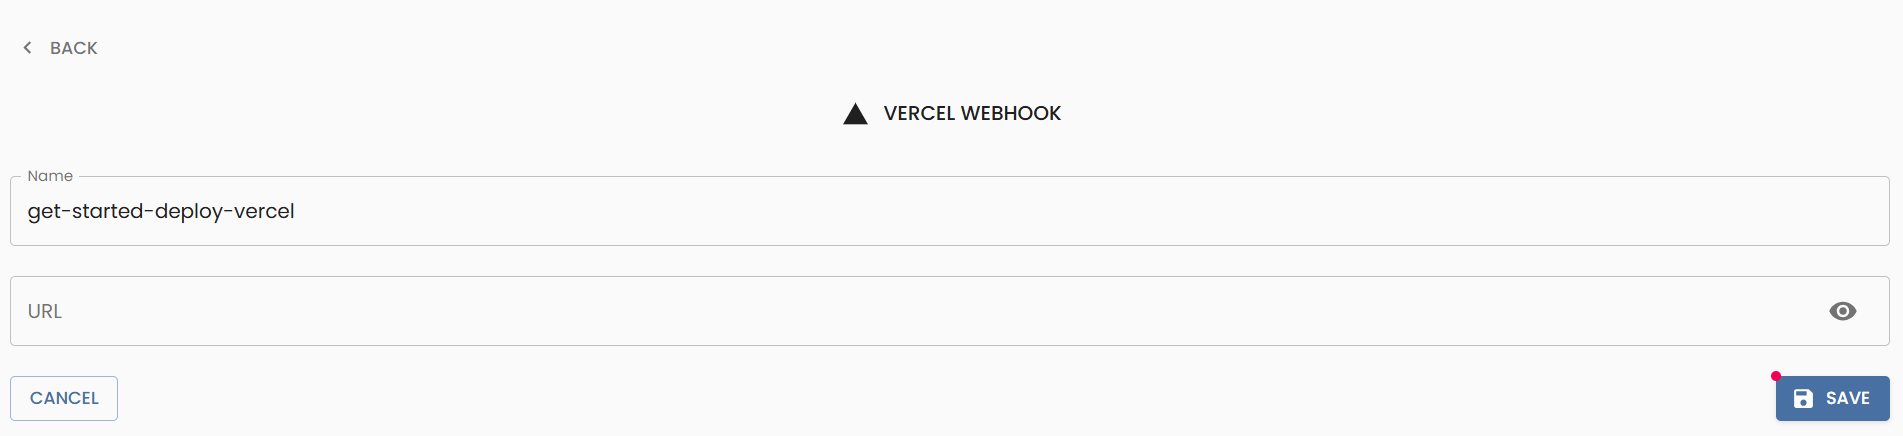
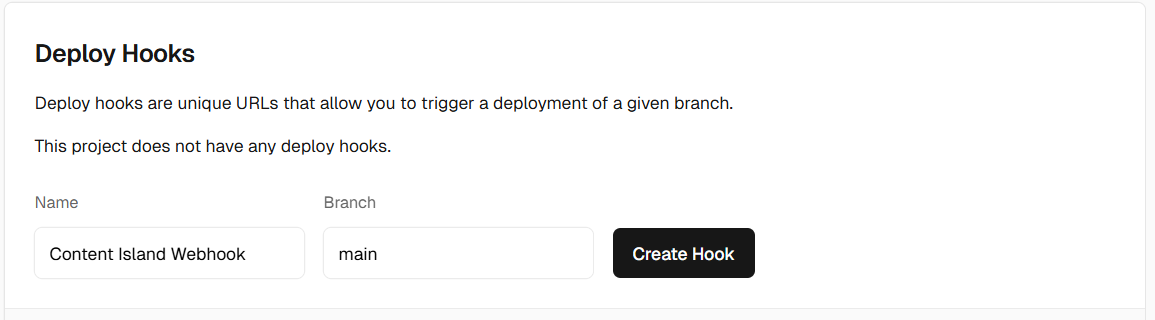
And for the webhook URL, we must go to the project settings in Vercel, in the Settings > Git section and scroll down to the Deploy hooks section:
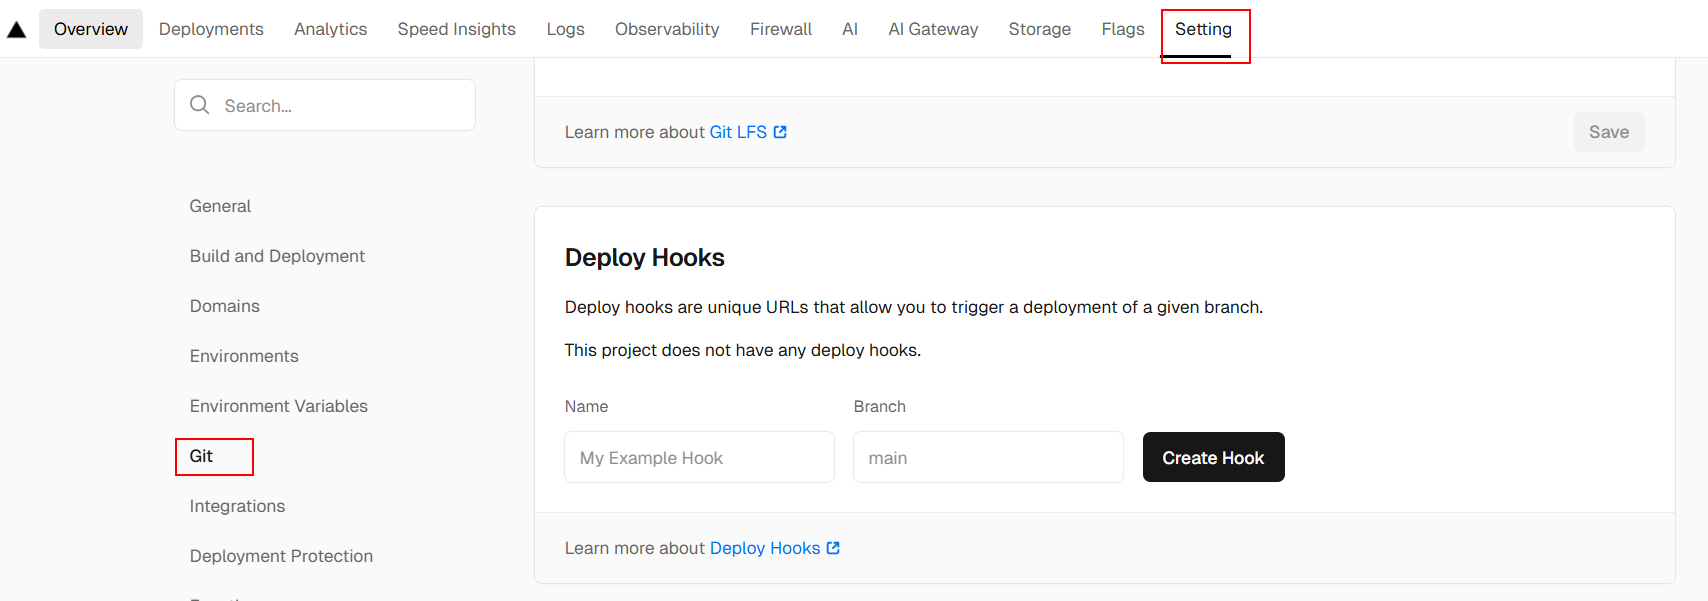
Give it a name (for example Content Island Webhook) and select the main branch so it deploys every time the webhook is triggered, then click Create Hook.
Finally, copy the URL provided by Vercel and paste it into the webhook URL field in Content Island and save the changes.
And that's it! Now, every time we make a change to our Content Island content, the webhook will be triggered and our project will be redeployed on Vercel.