

Get Started Astro Tutorial — 6. Connecting Content Island with Astro
- 1. Creating the project in Content Island
- 2. Defining the data model
- 3. Adding data
- 4. Creating the Astro project
- 5. Creating the folder structure
- 6. Connecting Content Island with Astro
- 7. Building the About page
- 8. Page with list of posts
- 9. Displaying a post
- 10. Automatic Deployment with Astro and Content Island using GitHub Actions
- 11. Deploying to Netlify
- 12. Auto-deploy with GitHub Webhooks + Content Island
6. Connecting Content Island with Astro
We’re now ready to start inserting content from Content Island into our site.
Let’s set up Content Island. What will we need?
- Install the Content Island API library.
- Add an environment variable with the API Key for our project in Content Island.
To install the Content Island API client library:
npm install @content-island/api-client --saveWe’ll also need to add our API Key as an environment variable.
To do this, go to Content Island, select the project you’re working on—get-started-blog—and under the General tab, you can copy the API Key (field Token).
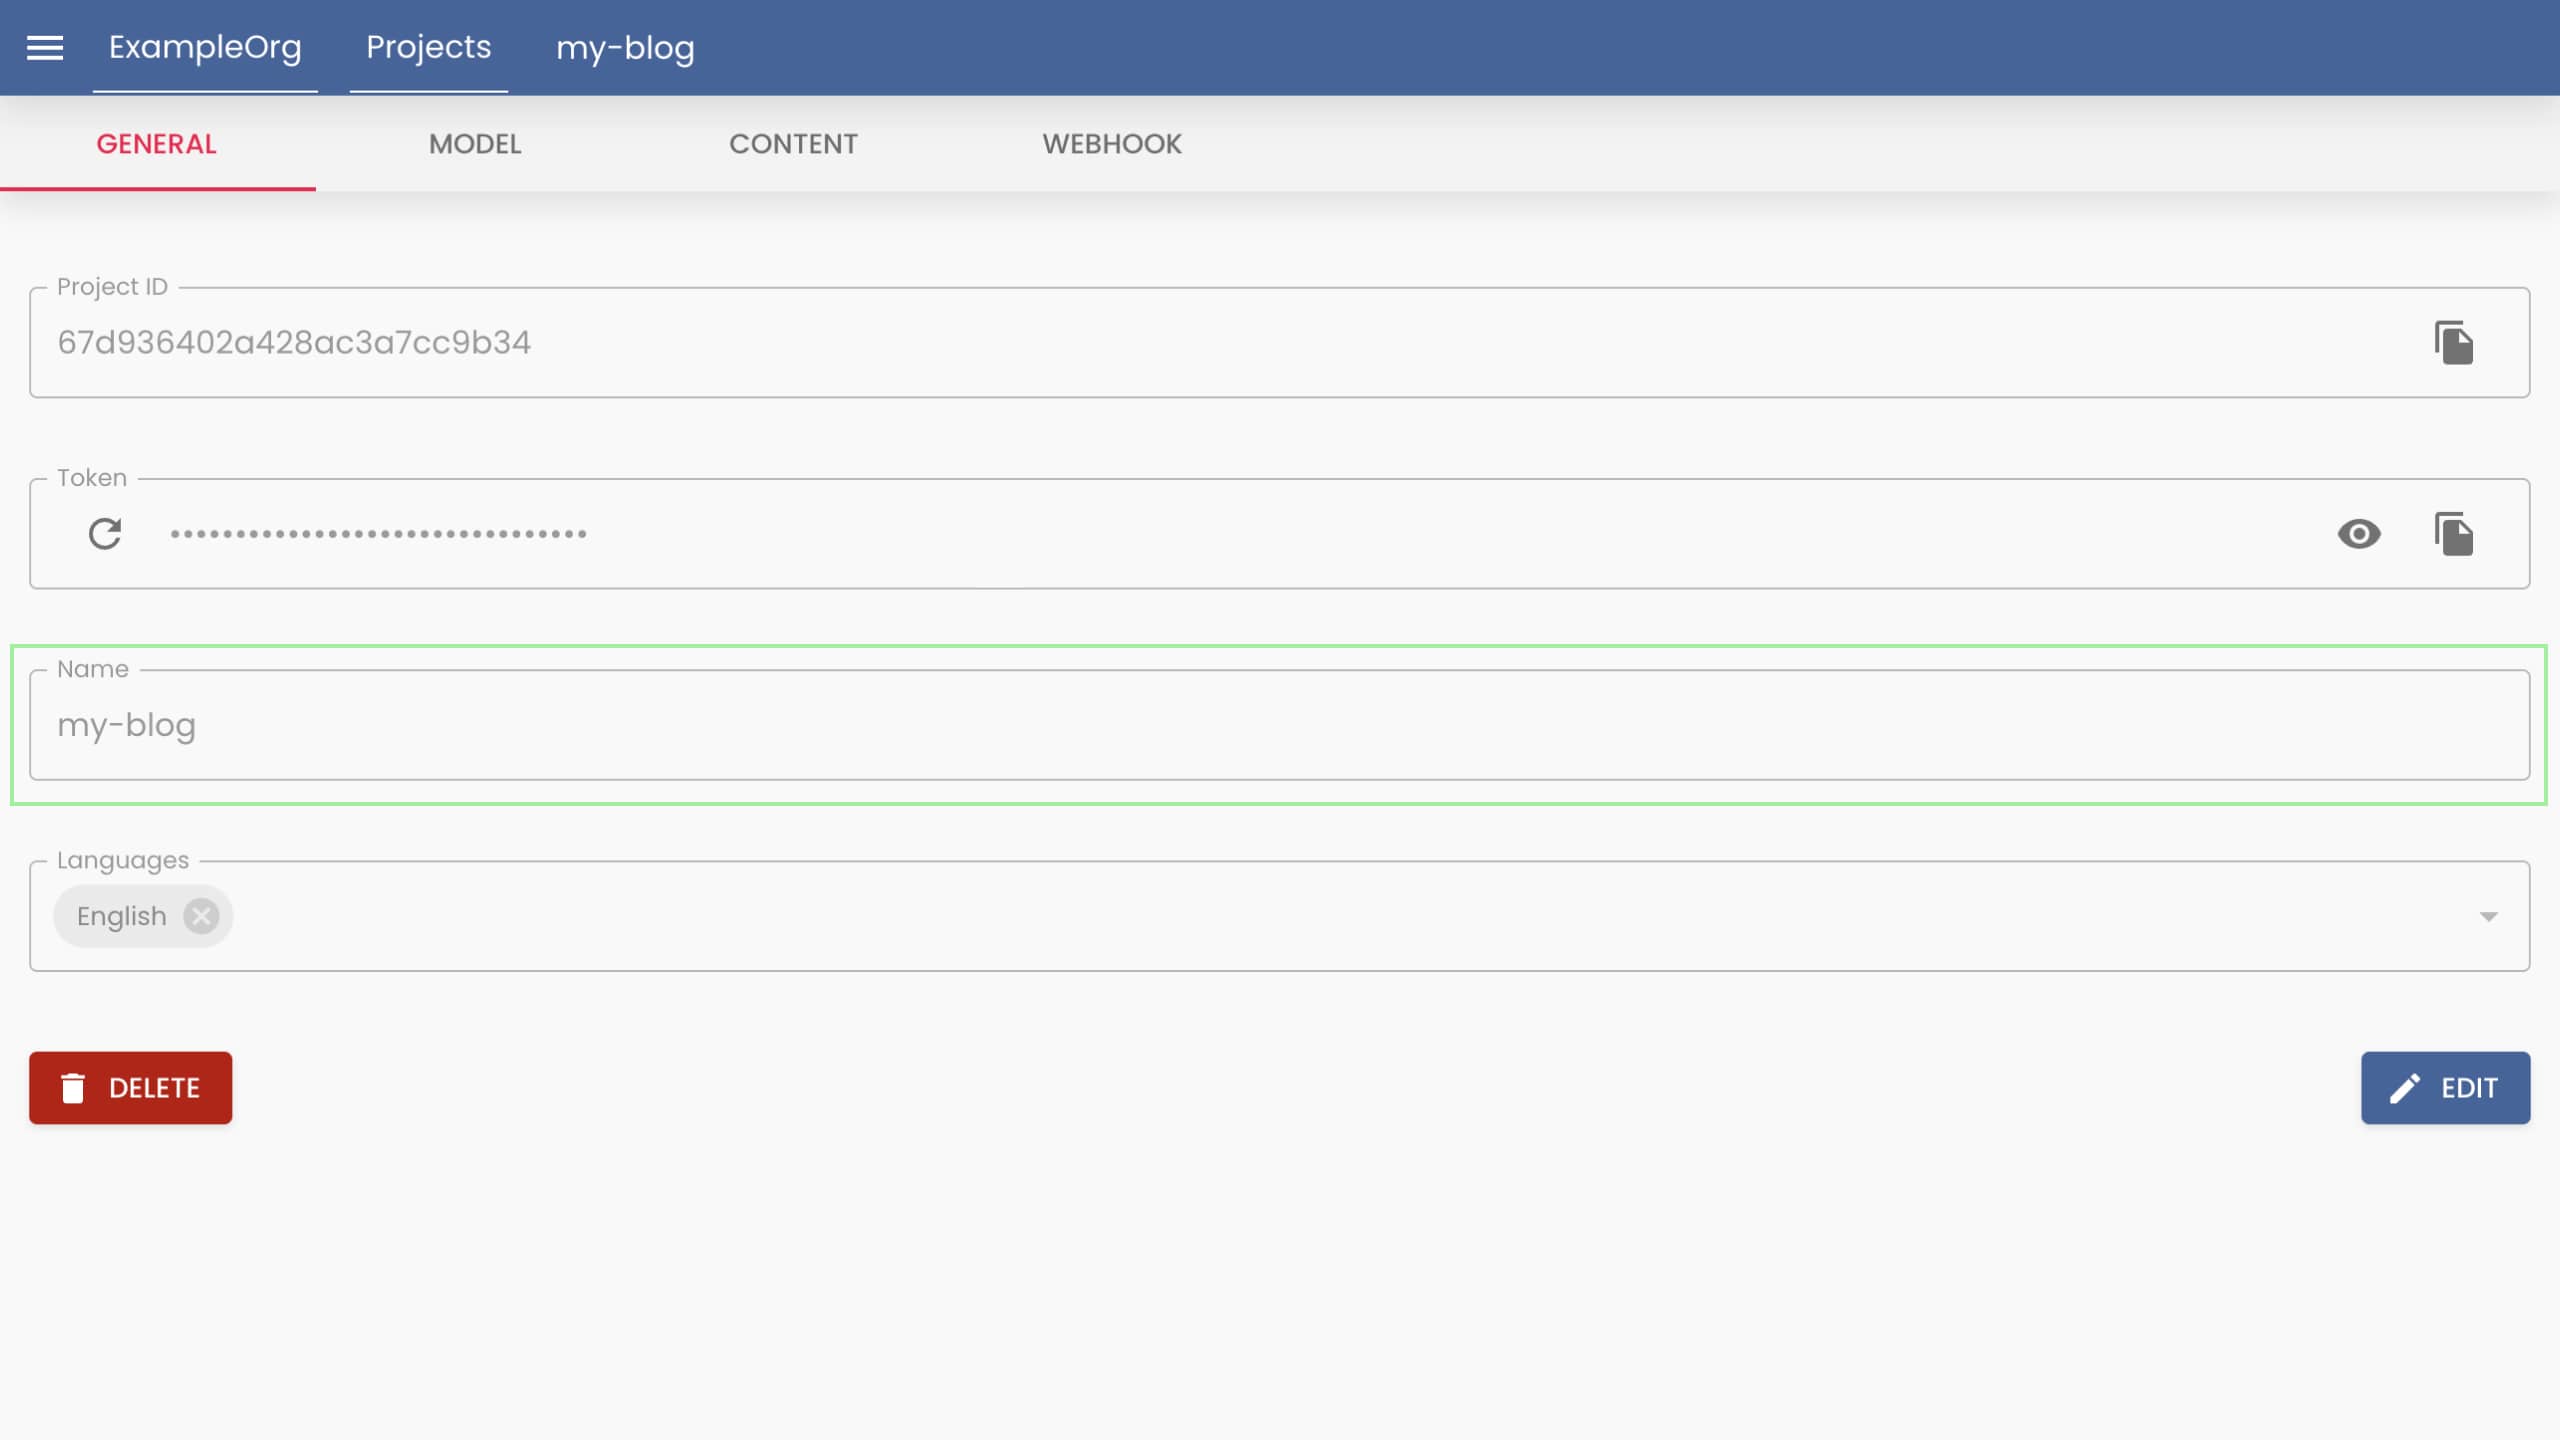
Now create a .env file at the root of your project and add the following:
CONTENT_ISLAND_SECRET_TOKEN=92925813362dd0bdc4816da745a90121From Astro v5 onward, you can type environment variables like this:
./astro.config.mjs
import { defineConfig, envField } from "astro/config";

export default defineConfig({
  env: {
    schema: {
      CONTENT_ISLAND_SECRET_TOKEN: envField.string({
        context: "server",
        access: "secret",
        optional: false,
        default: "INFORM_VALID_TOKEN",
      }),
    },
  },
});
This variable will run on the server when Astro generates the static site.
Now let’s initialize the Content Island client in our project and inject the API key:
./src/lib/client.ts
import { CONTENT_ISLAND_SECRET_TOKEN } from "astro:env/server";
import { createClient } from "@content-island/api-client";

const client = createClient({
  accessToken: CONTENT_ISLAND_SECRET_TOKEN,
});

export default client;
And now everything is ready to start working with Content Island. :)