

Structured Content with Nested Collections — Applying Nested Collections in a Real Astro Project
Applying Nested Collections in a Real Astro Project
We already know how to work with collections both at the Content Island level and in code, so let’s take a look at what it would look like in an example project using Astro.
This project is available in the repository:
https://github.com/content-island/collection-example-astro
Project Setup
Let’s clone the repo and see how it works:
git clone https://github.com/content-island/collection-example-astro.gitInstall the dependencies:
npm installBefore running the project, create a .env file with the following content:
CONTENT_ISLAND_SECRET_TOKEN=a2bb1def2090a842ab3e331e33693e2cNow we can run the project:
npm run devYou’ll see a page listing the courses.
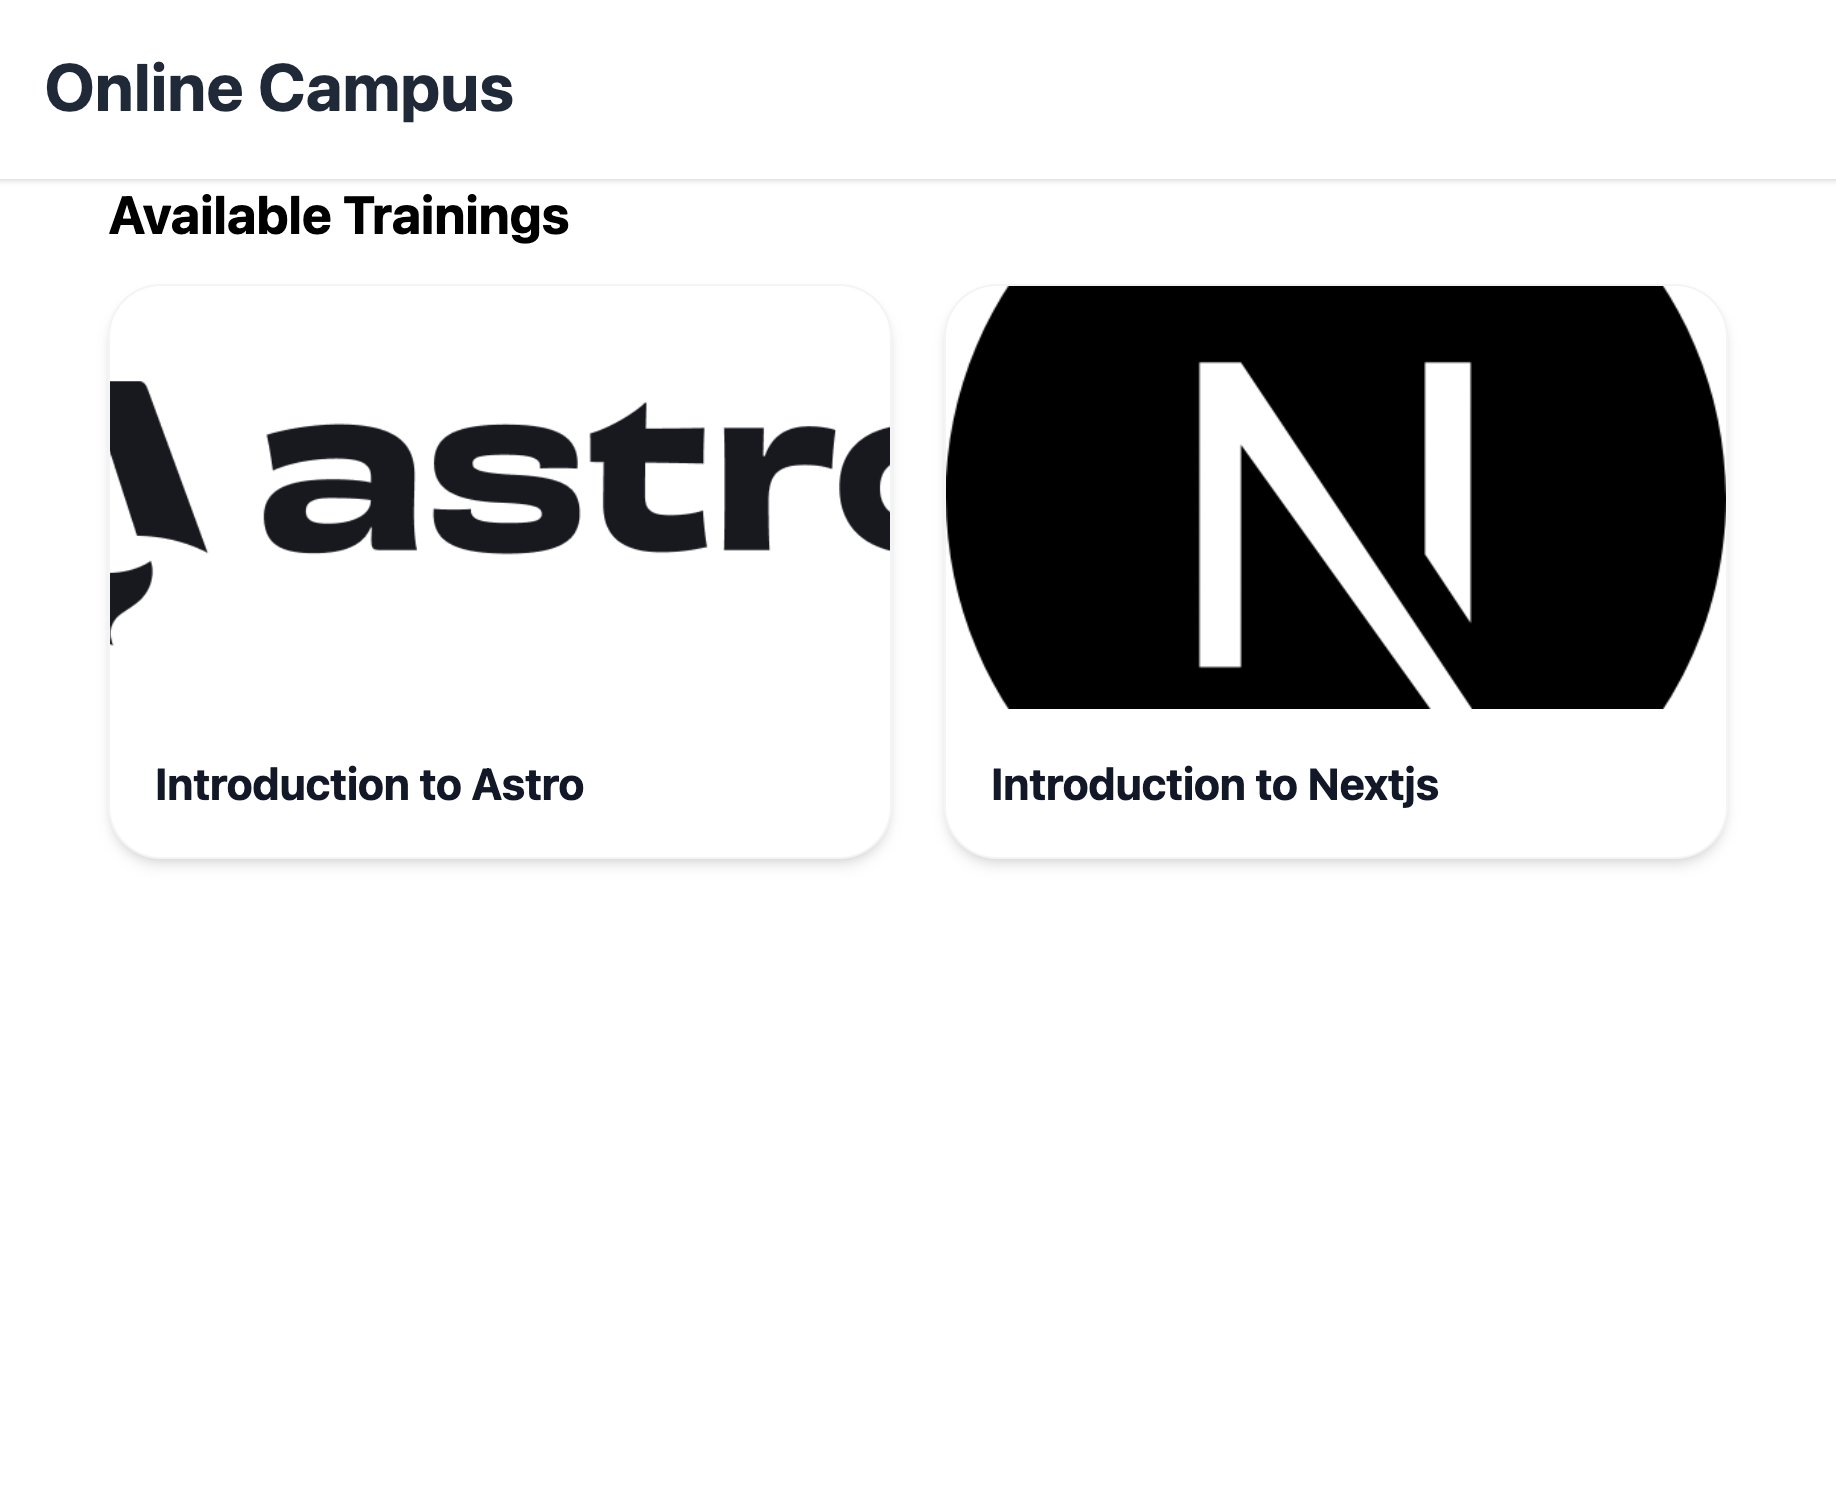
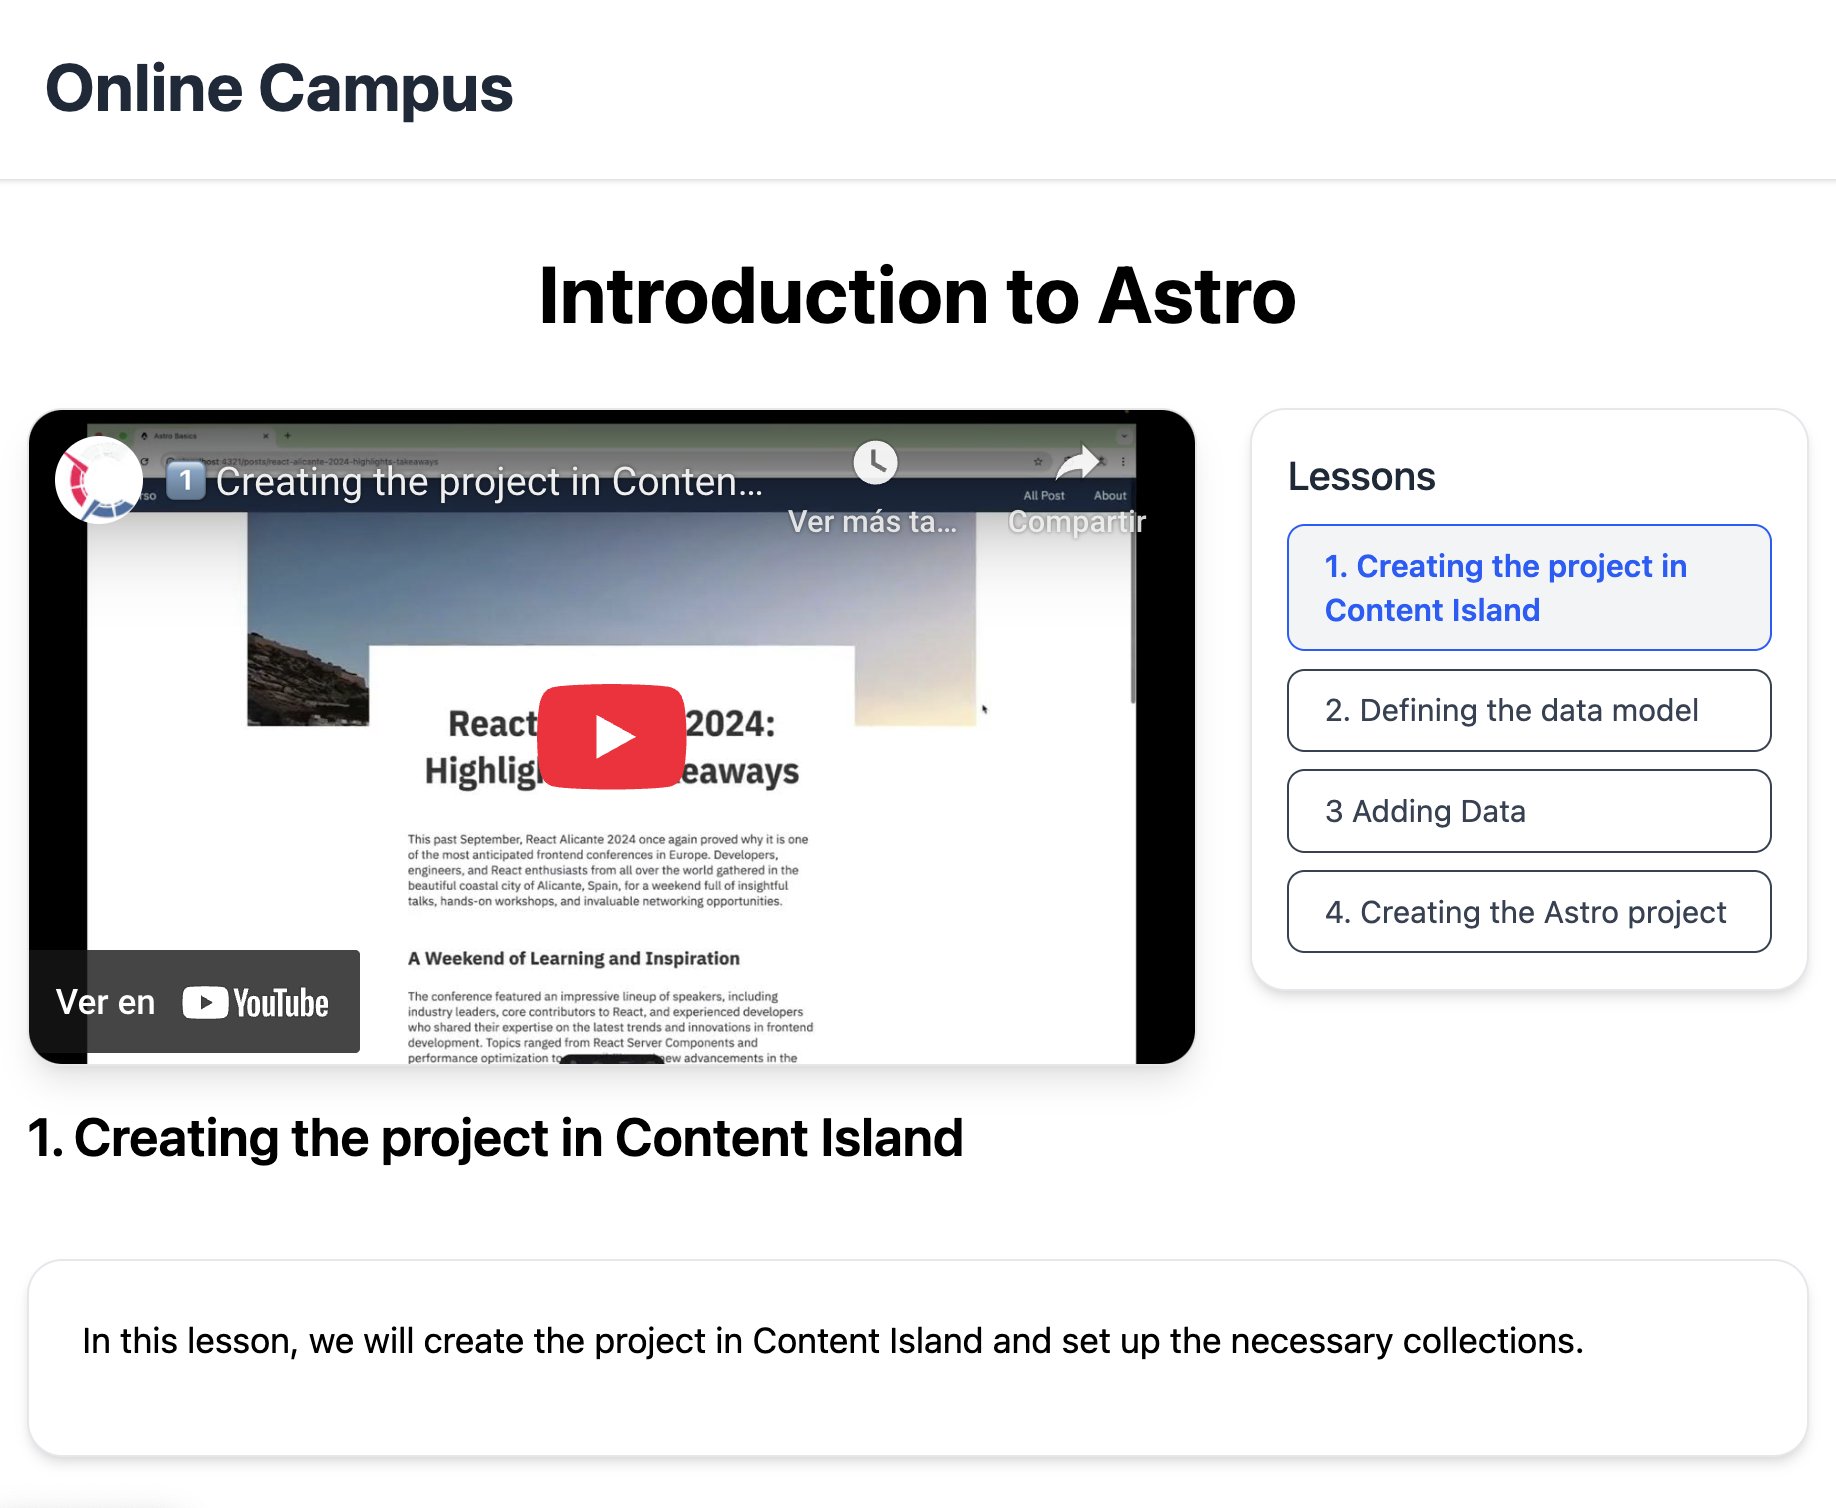
Clicking one of them navigates to the course page, where you can see the current lesson’s video, a list of course lessons, and the course description.
Structure
Under the src folder, we have the source code of our application:
📁 collection-example-astro/
└── 📁 src/
    ├── 📁 api/
    ├── 📁 components/
    ├── 📁 layouts/
    ├── 📁 lib/
    ├── 📁 pages/
    └── 📁 styles/
Under api we define the data model consumed from Content Island and the methods to load courses and lessons.
In components we have reusable UI components like the lesson list.
In layouts, we define the layout used across all pages including the header and footer.
In lib, we initialize the Content Island client, which allows us to fetch courses and lessons.
In pages, we define the application routes:
- Only page components (Astro files) are placed here—avoid putting subcomponents to prevent confusion in Astro routing.
- index.astro is the course listing page.
- The trainings route uses dynamic parameters: [trainingSlug].astro corresponds to the course slug, and [lessonSlug] to the lesson slug.
Course Listing Page
Let’s look at how this is implemented, starting with the course listing page.
Open src/pages/index.astro
Here’s the initial server-side code in Astro, used to load courses from Content Island:
---
import Layout from "@/layouts/layout.astro";
import TrainingCard from "@/components/trainings/training-card.astro";
import { getTrainings } from "@/api";

const trainings = await getTrainings();
---- We import the page layout.
- We import the course card component.
- We import the getTrainings method from the API.
- We invoke getTrainings to load the courses.
API
Inside getTrainings, we:
- Read the list of trainings.
- For each, fetch the related lessons.
export async function getTrainings(): Promise<TrainingWithLessons[]> {
  const trainings = await client.getContentList<Training>({
    contentType: "training",
  });

  const trainingsWithLessons = await Promise.all(
    trainings.map(async (training) => {
      const lessons = await getLessons(training.lessons ?? []);
      return {
        ...training,
        lessons,
      };
    })
  );

  return trainingsWithLessons;
}
Why include lessons in the course list? Because when navigating to a course, we need to display the first lesson.
This could be optimized by only loading the first lesson’s data or having the lesson page load the first lesson if no slug is provided.
The getLessons function loads full lesson details by ID:
export async function getLessons(ids: string[]): Promise<Lesson[]> {
  return await client.getContentList<Lesson>({
    contentType: "Lesson",
    id: { in: ids },
  });
}
You can find the data model copied from Content Island in:
./src/api/models.ts
UI
Back in index.astro, we now render the markup.
The layout component renders the header and footer. Let’s see how it looks:
./src/layouts/layout.astro
---
import { ClientRouter } from "astro:transitions";
import "../styles/global.css";
import 'highlight.js/styles/github-dark.css';
import Header from "@/components/header.astro";

interface Props {
  title: string;
}

const { title } = Astro.props;
---

<html lang="en">
  <head>
    <meta charset="utf-8" />
    <link rel="icon" type="image/svg+xml" href="/favicon.svg" />
    <meta name="viewport" content="width=device-width" />
    <meta name="generator" content={Astro.generator} />
    <title>{title}</title>
    <ClientRouter />
  </head>
  <body>
    <Header />
    <slot />
  </body>
</html>
In the listing page, we loop over the courses and render a card for each one.
Inside the card component, we use props to pass course data and render the title, image, and a link to the course page.
src/components/trainings/training-card.astro
Course Detail Page
The route and file structure use two dynamic parameters:
- [trainingSlug]: maps to the course slug.
- [lessonSlug]: maps to the lesson slug.
📁 pages/
└── 📁 training/
    └── 📁 [trainingSlug]/
        └── 📄 [lessonSlug].astro
Astro handles this using getStaticPaths, which generates all possible routes for each course and lesson:
export async function getStaticPaths() {
  const trainings = await getTrainings();
  return trainings.flatMap((training) =>
    training.lessons.map((lesson) => ({
      params: {
        trainingSlug: training.slug,
        lessonSlug: lesson.slug,
      },
      props: {
        training,
      },
    })),
  );
}
We use the same API to load courses and generate the route for each course/lesson pair.
In the actual page, we read the training info and determine the lesson to show using the slug.
In the markup, we use the layout and compose the page with subcomponents:
- Lesson video.
- Lesson list.
- Course description.
You can inspect each component’s code using "Go to Definition".
Referencing object collections simplifies content management. Astro and Content Island make this integration dynamic and straightforward.