Astro Minimal Template
The Astro + Content Island Minimal Template is a lightweight project starter designed to help you get up and running quickly with Astro and Content Island.
It includes only the essential setup needed to start building a real project, without unnecessary abstractions or opinionated structure.
What’s included
This template provides a minimal but complete foundation:
-
Astro initial project setup A clean Astro project created with the official defaults.
-
Content Island access token configuration Environment-based configuration for securely connecting to your Content Island project.
-
Content Island client setup A dedicated
libmodule that initializescreateClient, allowing you to immediately start querying and consuming Content Island data across your project. -
Example content consumption
- A sample Page
- A sample Pod Both demonstrate how to fetch and render data using the Content Island API.
-
Preconfigured developer tooling
- Prettier configuration
- Path aliases for cleaner and more maintainable imports
-
Default layout A base layout ready to be extended as your project grows.
When to use this template
This template is ideal if you:
- Are starting a production project and want full control from day one
- Want a minimal starting point without unnecessary boilerplate
- Need a fast way to prototype or validate a Content Island + Astro setup
What this template does not include
To stay minimal and flexible, this template intentionally does not include:
- UI frameworks or design systems
- Predefined content models
- Build or deployment presets
These decisions are left to you, depending on your project’s needs.
Getting started
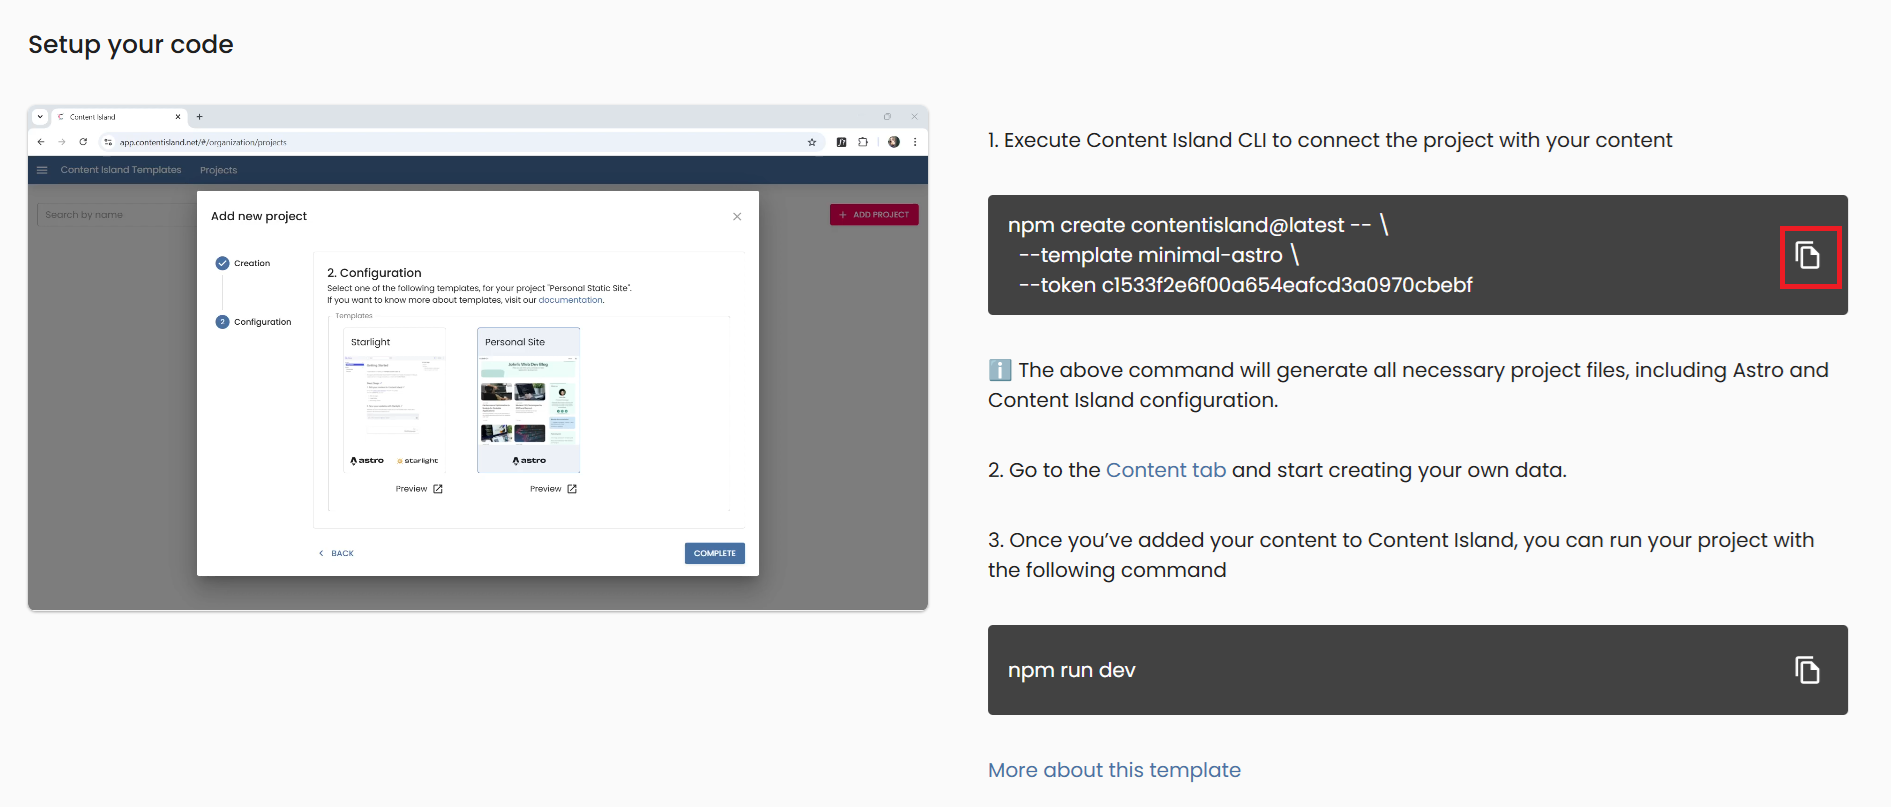
- Click New Project and select Template option.

- Create a new project using minimal astro template

- In the final step (Quick Start), copy the CLI command provided and run it in your terminal.
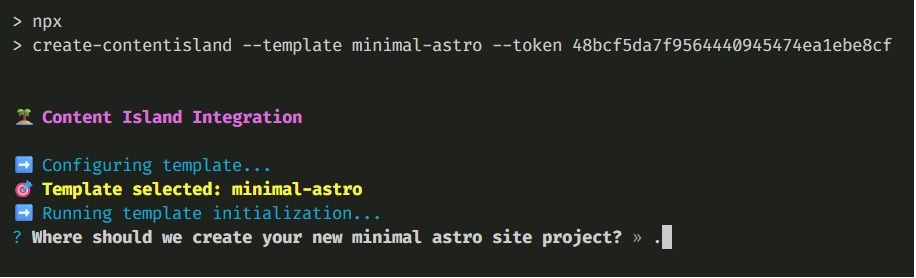
- Run the command we copied in the previous step and the Content Island CLI will be launched. It will ask us a few very simple questions:
- First, we confirm that we want to run the CLI.

- Since we are inside an empty folder, we indicate that the project destination will be ”.” (Otherwise, we could specify the name of the folder here).
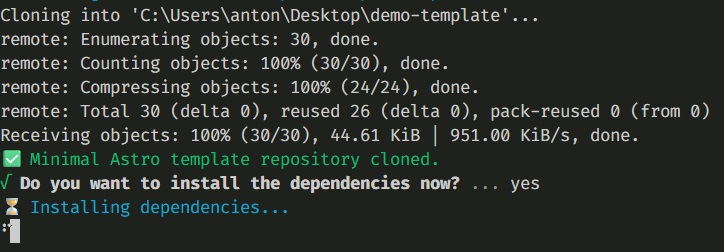
- Finally, we tell it to automatically run
npm installfor us.
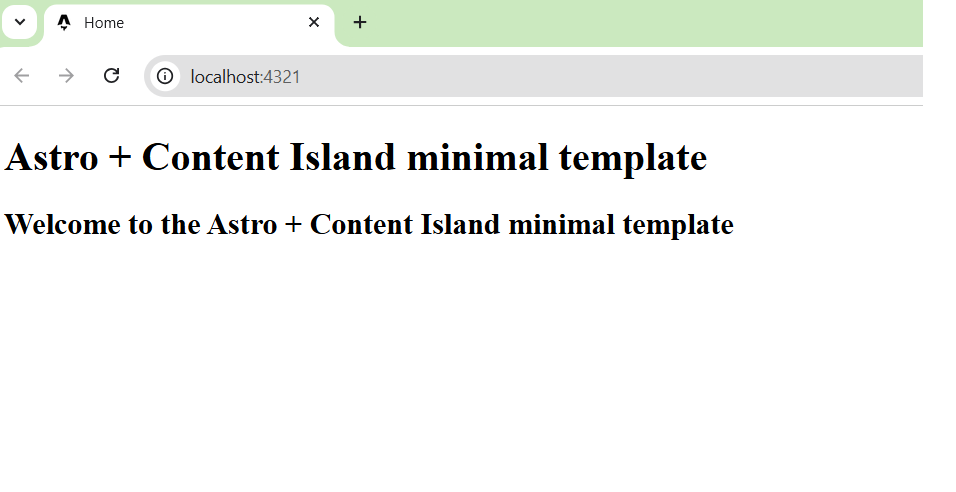
- Once created, run your local server:
npm run dev